While deleting some images on my computer, I came across this old image/graph that mentioned typical light intensity for different situations. This can be helpful to know limitation of cameras in low light. If you want to take good photos in low light with your iPad or iPhone and if you are not able to do so, it is not your fault.
In graph below, we are not supposed to remember various numbers but this one does show how dramatically light varies from situation to situation. In outdoor under mid day Sun compared to a bright indoor room, light intensity is 500 times more! When you compare this bright mid day under Sun to an indoor dim room, the light intensity is 6000 times more!
Clear Full Moon light is around .03 Lux. Typical Starlight is around .001 Lux.

So up to 500 Lux, a handheld camera can take good sharp photos IMHO (my guess). However to take good photos in situations with lesser light, we need either a tripod or faster and/or bigger sensor cameras and a stationary
Practical considerations for Light and Exposure in day to day use:
* iPhone 6 has widest aperture of 2.2. Assuming ISO of 400 (beyond 400, images will be grainy) and very stable hands, you can take shutter speed of 1/75 seconds.
With this, the lowest light you will need to take sharp good photos with your iPhone 6 is around 226 Lux. This means in brightly lit homes or in offices to outdoor photos, an iPhone or any latest smartphone camera can be useful.
If you like to use ISO at 100 only, you will need 907 Lux of light intensity.
* On the other extreme, high end full frame SLR with a fast lens of f/1.2 can take good photos even at ISO 3200. Assuming same shutter speed of 1/75 seconds, it can take good photos in light as low as 9 Lux!
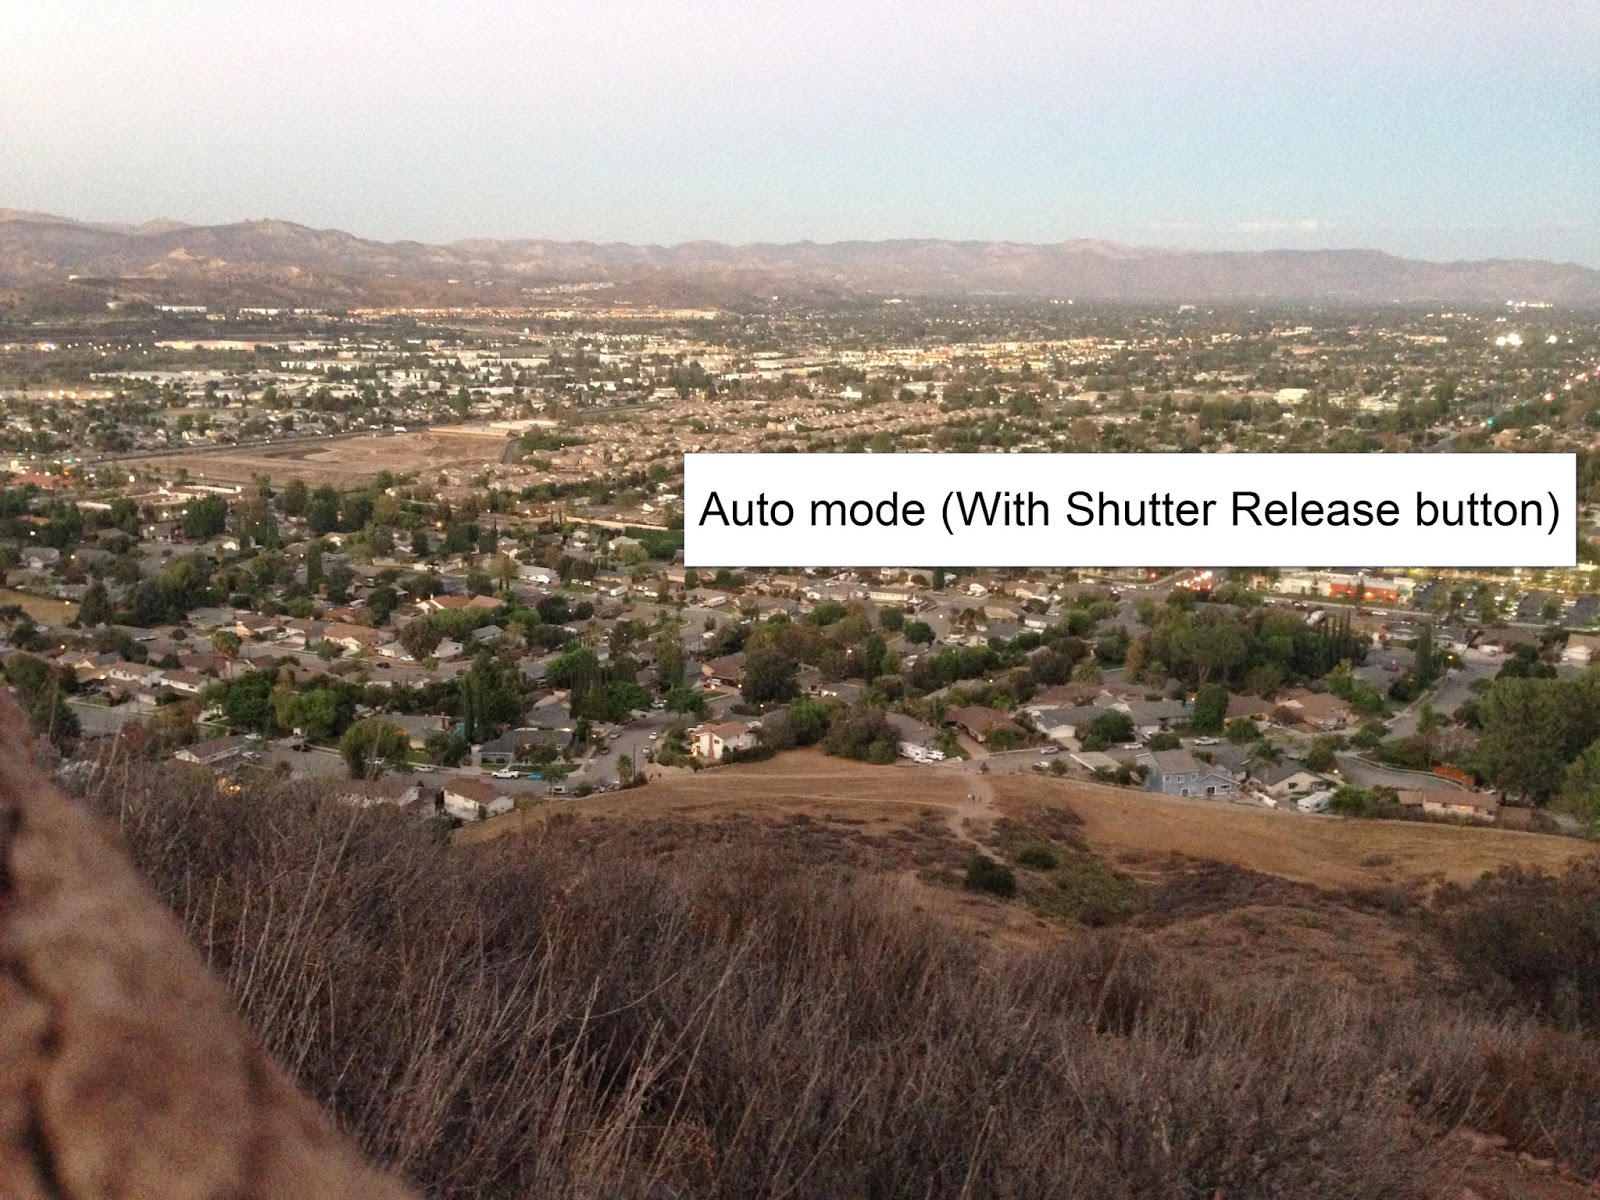
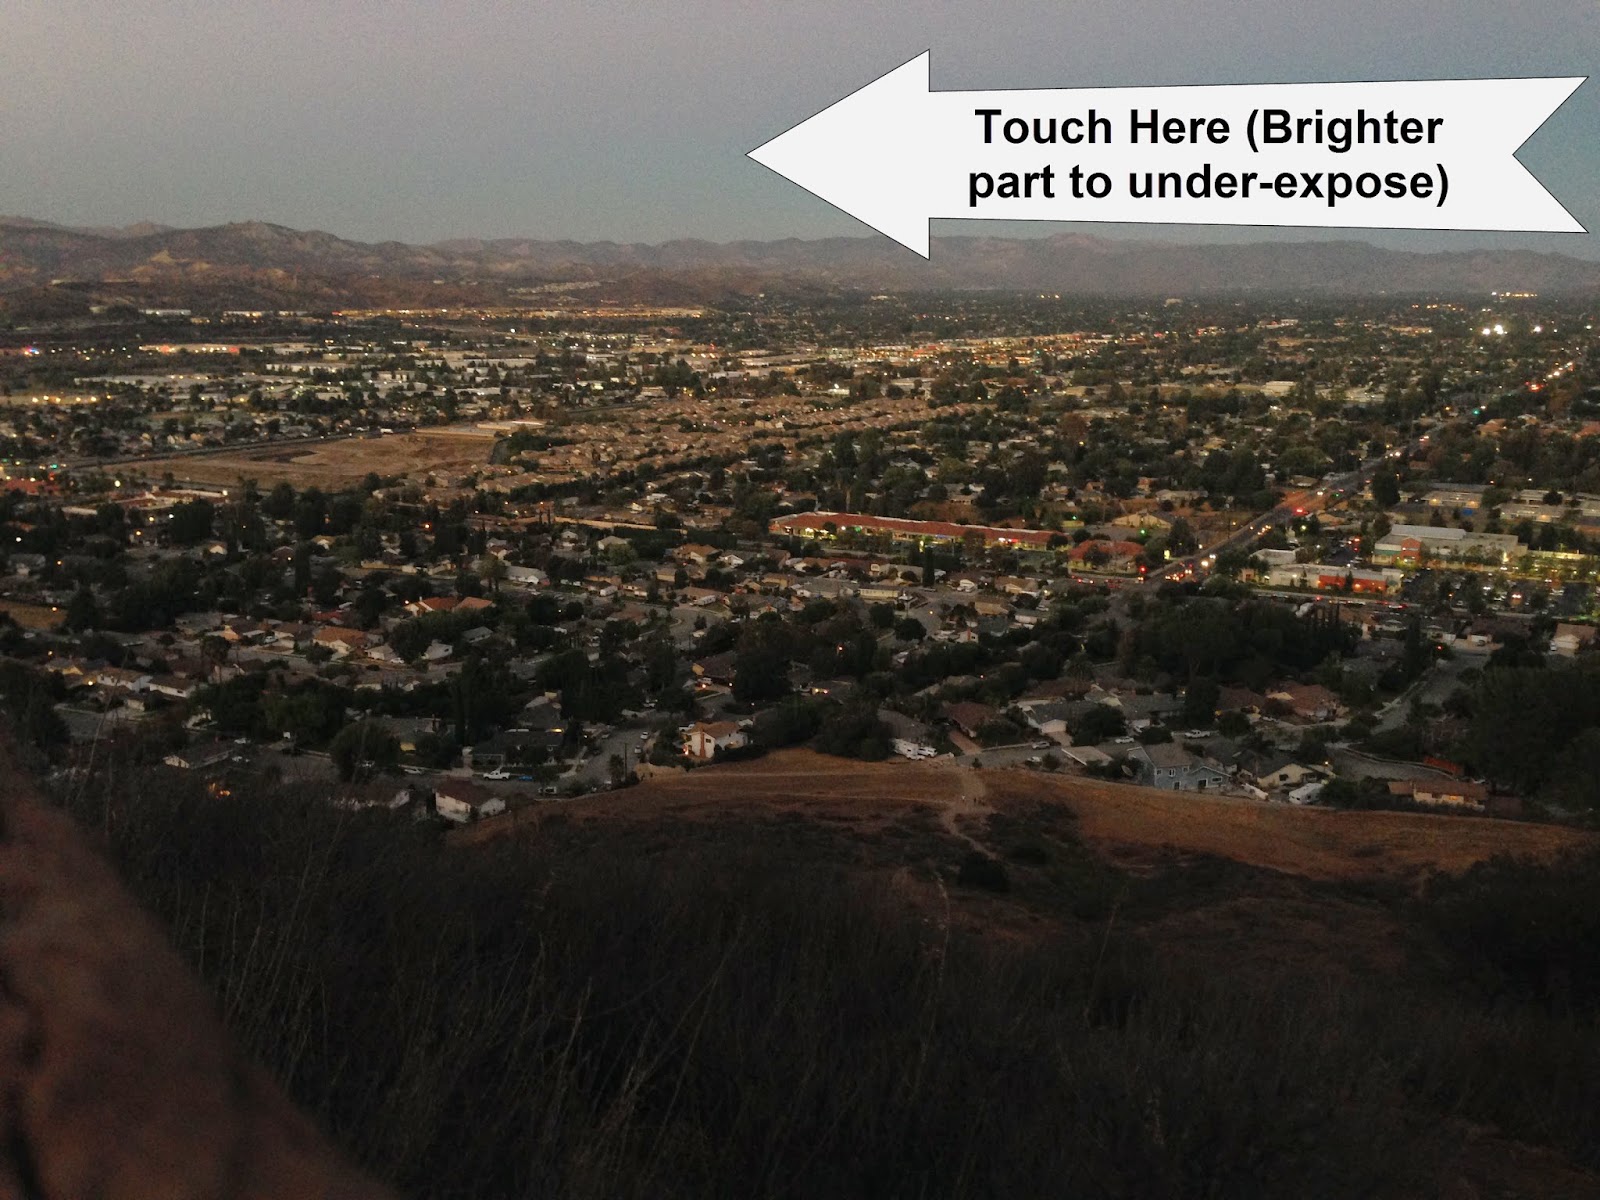
If you have a Lux meter, you can use this equation (Lux= Square of F number * 1/shutter speed * (250 /ISO)) for determining the variables like Shutter Speed needed, or ISO needed for a given aperture. The discussion in this post is mostly to get a feel about what is going on when you press the shutter release button in any camera. In reality, when you press the button, the sensors and computers inside you camera, takes the reading of the light in the frame and uses some equation like above to set up aperture opening, shutter speed and/or ISO depending on the mode. If you shoot in Manual, you provide the numbers and camera stops thinking. If you are in A or Av mode, you tell camera what value to use for aperture. If you have set up ISO too, camera will determine shutter speed based on some equation like the one above.
So ignoring bokeh or image sharpness with faster lens and bigger sensors on DSLR, an iPhone or any smartphone or a fixed lens camera can take good photos in light that is 200 Lux or more. This means well lit indoor or bright outside. With bigger bodies and more investment, you can go down as low as 10 Lux hand-holding your camera which would be Family living room lights, relatively dim indoor, office building hallways or very dark overcast day.
Now with a tripod and if you subject is stationary, you can go and shoot in almost any situation. If you want to shoot stars though, you need only a high end DSLR as if you go beyond exposure of 10-20 seconds, you will capture movement of stars.
Hope this helps.
Sources:
If you want to get into technicality of exposure, here is a nice summary on DPReview chat. Not sure if it is accurate but it mentions that
I know LUX is very confusing measure compared to meter or centimeter for length, pound or kg for weight or second/minute for time. Lux measures intensity of light. Instead of getting into technicals of it, I would rather remember relative values so you can understand how it affects photography.
In graph below, we are not supposed to remember various numbers but this one does show how dramatically light varies from situation to situation. In outdoor under mid day Sun compared to a bright indoor room, light intensity is 500 times more! When you compare this bright mid day under Sun to an indoor dim room, the light intensity is 6000 times more!
Clear Full Moon light is around .03 Lux. Typical Starlight is around .001 Lux.

So up to 500 Lux, a handheld camera can take good sharp photos IMHO (my guess). However to take good photos in situations with lesser light, we need either a tripod or faster and/or bigger sensor cameras and a stationary
Practical considerations for Light and Exposure in day to day use:
* iPhone 6 has widest aperture of 2.2. Assuming ISO of 400 (beyond 400, images will be grainy) and very stable hands, you can take shutter speed of 1/75 seconds.
With this, the lowest light you will need to take sharp good photos with your iPhone 6 is around 226 Lux. This means in brightly lit homes or in offices to outdoor photos, an iPhone or any latest smartphone camera can be useful.
If you like to use ISO at 100 only, you will need 907 Lux of light intensity.
* On the other extreme, high end full frame SLR with a fast lens of f/1.2 can take good photos even at ISO 3200. Assuming same shutter speed of 1/75 seconds, it can take good photos in light as low as 9 Lux!
If you have a Lux meter, you can use this equation (Lux= Square of F number * 1/shutter speed * (250 /ISO)) for determining the variables like Shutter Speed needed, or ISO needed for a given aperture. The discussion in this post is mostly to get a feel about what is going on when you press the shutter release button in any camera. In reality, when you press the button, the sensors and computers inside you camera, takes the reading of the light in the frame and uses some equation like above to set up aperture opening, shutter speed and/or ISO depending on the mode. If you shoot in Manual, you provide the numbers and camera stops thinking. If you are in A or Av mode, you tell camera what value to use for aperture. If you have set up ISO too, camera will determine shutter speed based on some equation like the one above.
So ignoring bokeh or image sharpness with faster lens and bigger sensors on DSLR, an iPhone or any smartphone or a fixed lens camera can take good photos in light that is 200 Lux or more. This means well lit indoor or bright outside. With bigger bodies and more investment, you can go down as low as 10 Lux hand-holding your camera which would be Family living room lights, relatively dim indoor, office building hallways or very dark overcast day.
Now with a tripod and if you subject is stationary, you can go and shoot in almost any situation. If you want to shoot stars though, you need only a high end DSLR as if you go beyond exposure of 10-20 seconds, you will capture movement of stars.
Hope this helps.
Sources:
If you want to get into technicality of exposure, here is a nice summary on DPReview chat. Not sure if it is accurate but it mentions that
N^2/t = L*ISO / (10/0.67)
....for ISO = 100, N = 2.8, t = 1/100, and a calibration constant K = 12.5, the required luminance would be about
....for ISO = 100, N = 2.8, t = 1/100, and a calibration constant K = 12.5, the required luminance would be about
L = 2.8^2*100*12.5/100 = 98 cd per sq. meter
to produce a middle grey tone in your final image. Illumination is trickier, and a typical calibration constant is 250 for incident light measured in lux. So for this same example we would need
L = 2.8^2*100*250/100 = 1960 lux.
I know LUX is very confusing measure compared to meter or centimeter for length, pound or kg for weight or second/minute for time. Lux measures intensity of light. Instead of getting into technicals of it, I would rather remember relative values so you can understand how it affects photography.
If you want the definition of Lux, here it is from Wikipedia.
"The lux (symbol: lx) is the SI unit of illuminance and luminous emittance, measuring luminous flux per unit area.[1] It is equal to one lumen per square metre. In photometry, this is used as a measure of the intensity, as perceived by the human eye, oflight that hits or passes through a surface. It is analogous to the radiometric unit watts per square metre, but with the power at each wavelength weighted according to the luminosity function, a standardized model of human visual brightness perception. In English, "lux" is used in both singular and plural.[2]"
"The lux (symbol: lx) is the SI unit of illuminance and luminous emittance, measuring luminous flux per unit area.[1] It is equal to one lumen per square metre. In photometry, this is used as a measure of the intensity, as perceived by the human eye, oflight that hits or passes through a surface. It is analogous to the radiometric unit watts per square metre, but with the power at each wavelength weighted according to the luminosity function, a standardized model of human visual brightness perception. In English, "lux" is used in both singular and plural.[2]"
Here are some examples of the illuminance provided under various conditions:(Source: Wikipedia
| Examples | |
|---|---|
| Illuminance | Surfaces illuminated by: |
| 0.0001 lux | Moonless, overcast night sky (starlight)[3] |
| 0.002 lux | Moonless clear night sky with airglow[3] |
| 0.27–1.0 lux | Full moon on a clear night[3][4] |
| 3.4 lux | Dark limit of civil twilight under a clear sky[5] |
| 50 lux | Family living room lights (Australia, 1998)[6] |
| 80 lux | Office building hallway/toilet lighting[7][8] |
| 100 lux | Very dark overcast day[3] |
| 320–500 lux | Office lighting[6][9][10][11] |
| 400 lux | Sunrise or sunset on a clear day. |
| 1000 lux | Overcast day;[3] typical TV studio lighting |
| 10000–25000 lux | Full daylight (not direct sun)[3] |
| 32000–100000 lux | Direct sunlight |